prototype

Now that the final concept is determined with all its features, we could start with actually making the prototype in real life. This prototype must be a reasonable representation of what the product should actually look like and how it should work, but is not intended for immediate use by the specific user/co-designer.

The process for making the prototype started with going to eyewear shops to buy cheap frames of glasses. In the end, two glasses were bought from the Action, because these glasses meet the correct shape of the Co-designer and these glasses were cheap. These glasses do not have the correct prescription as those of the Co-designer, but this prototype is intended to show how the different mechanisms work. The only other feature that has been purchased is the detachable headband.

The other materials needed for making the prototype were all available in the workshop sessions. These used materials are:

  • Foam
  • Leather
  • Click-mechanism

So, when we collected all the materials needed for making the prototype we first started with creating the extra pair of lenses that need to be connected to the standard glasses. This is done by breaking off the temples and flattening of the nose by using the sanding machine. To connect this extra pair of lenses to the standard glasses there is a mechanism representing the clicking mechanism (Figure 33). For the prototype, buttons are used that are normally seen on garments. Like it is described in the list of features, the mechanism consists of a piece of leather with the hole of the button mechanism on it (mounted on the standard glasses). Furthermore, it consists of the knob part of the mechanism (mounted on the extra pair of lenses)(Figure 34).

Figure 33

Figure 34

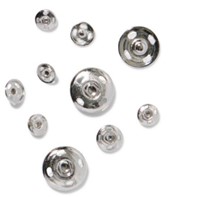
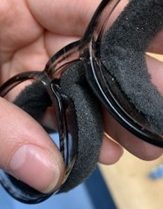
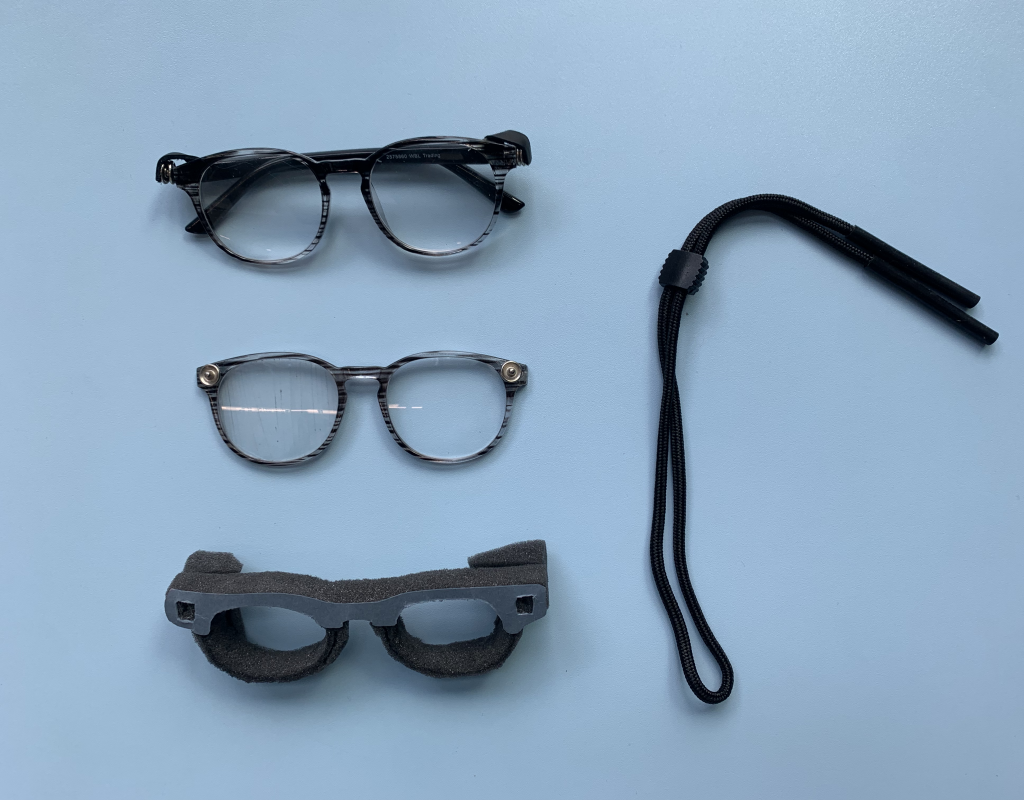
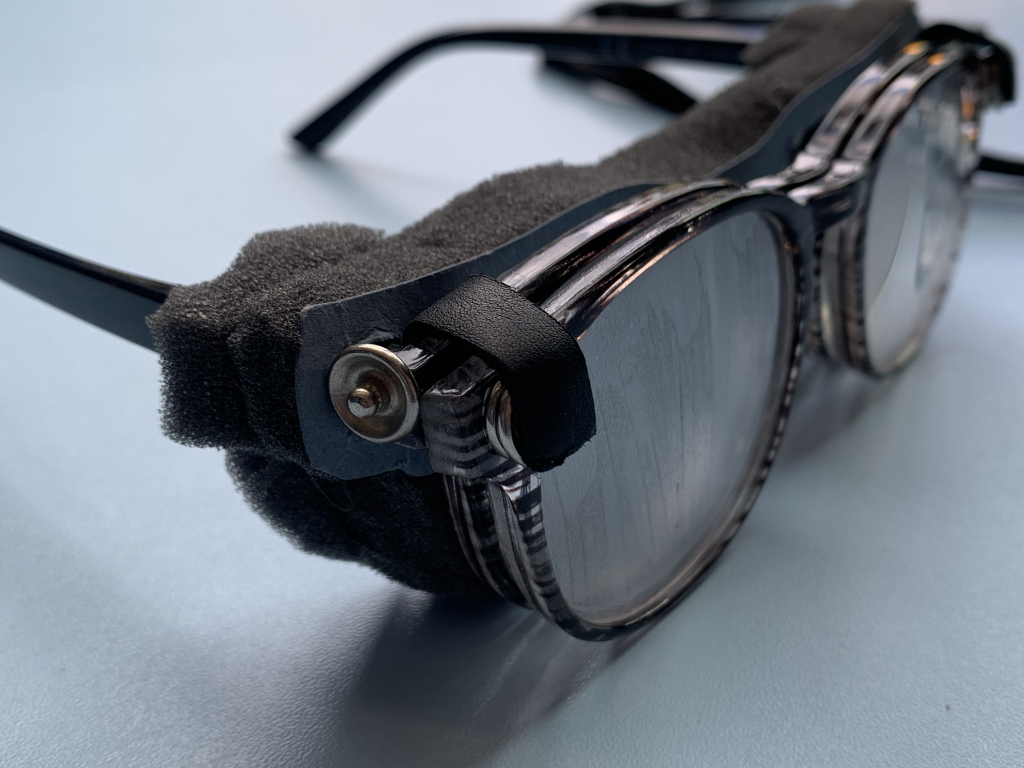
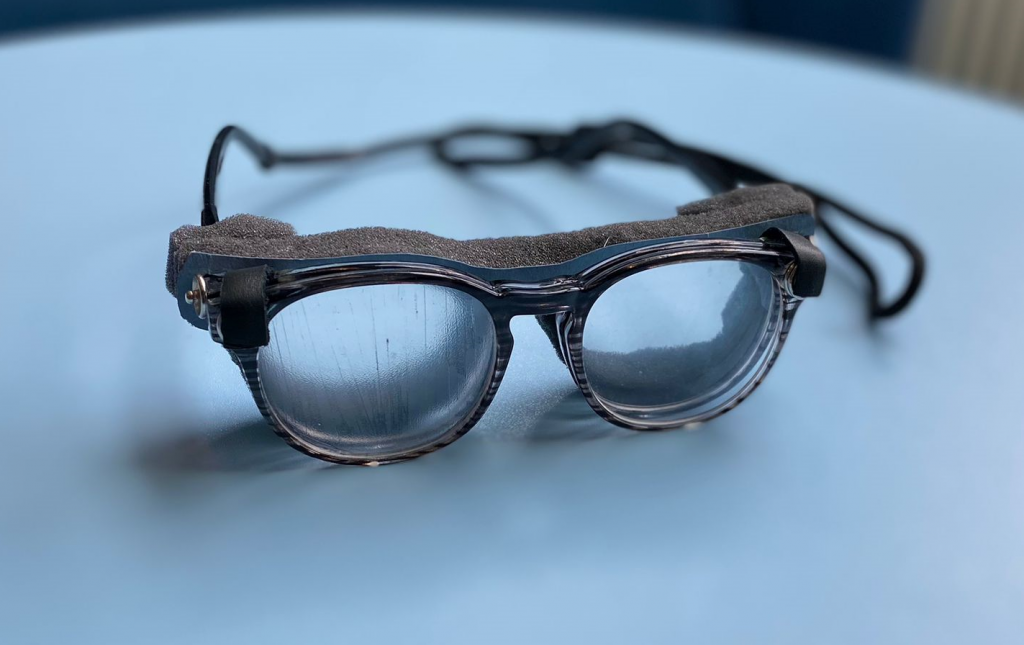
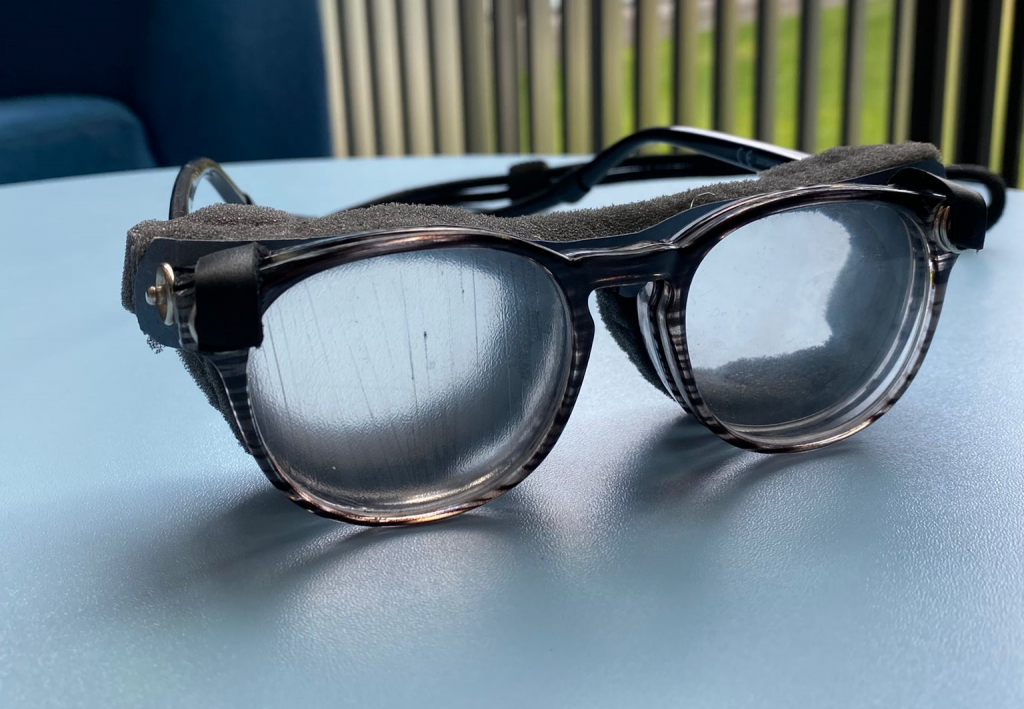
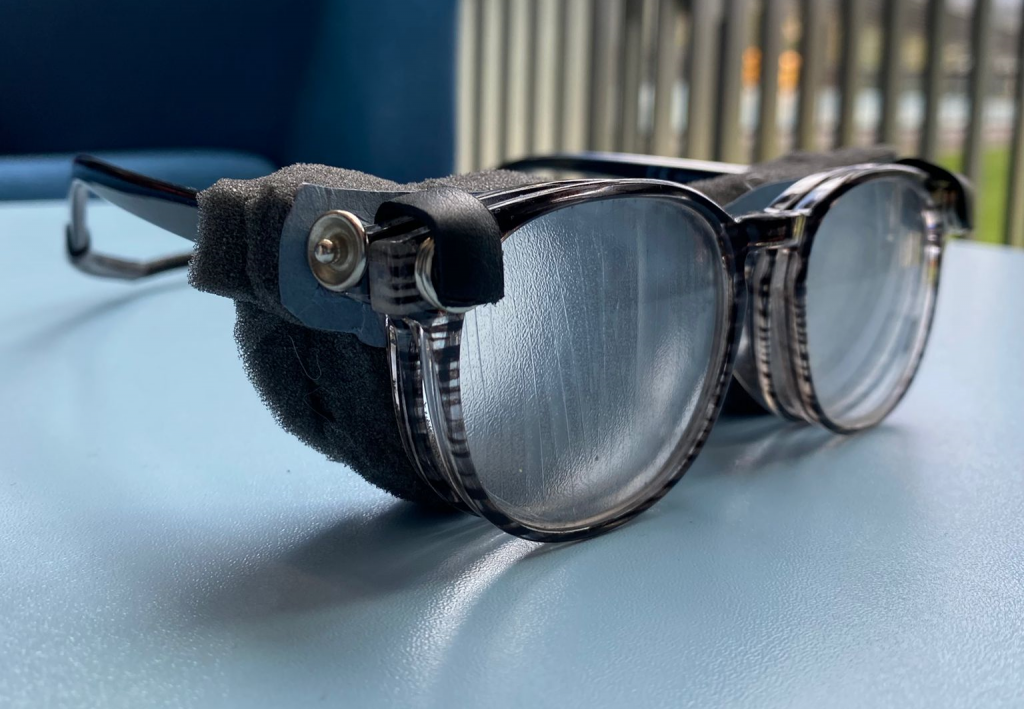
While making the prototype it was decided to add an extra feature that ensures that the piece of leather can be stored on the side of the glasses and does not hang in the way of the user. Therefore, the knob part of the mechanism is also mounted on the side of the standard glasses.

Figure 35

Then, the last feature to be added to the final prototype is the eye cap with the sliding mechanism (Figure 36). This feature is created by using the black and soft foam from the workshop instead of using a silicon material (what is the actual material). To create this feature we traced the outside of the glasses and cut the foam into this shape. To ensure that the foam can slide over the temples, holes have been made in the side of the foam.

Figure 36

Final prototype

Figure 37

Figure 38

Figure 39

Figure 40 

Figure 41

Figure 42

Figure 43 

Figure 44

Scroll to Top